Jealous of your neighbor’s new black windows?
Yeah, I think they look cool too! I bet they didn’t mention what they paid. I sure don’t want your neighbor’s second mortgage it took to get them. Or better yet, they have 2 years before they start making payments while the interest rates skyrocket and home values level off. Oh, and the most overlooked aspect of window replacement is the mess!
What if I told you your home could have the same fresh curb appeal AND upgraded windows on a budget?
It’s even a DIY project… if you want it to be.
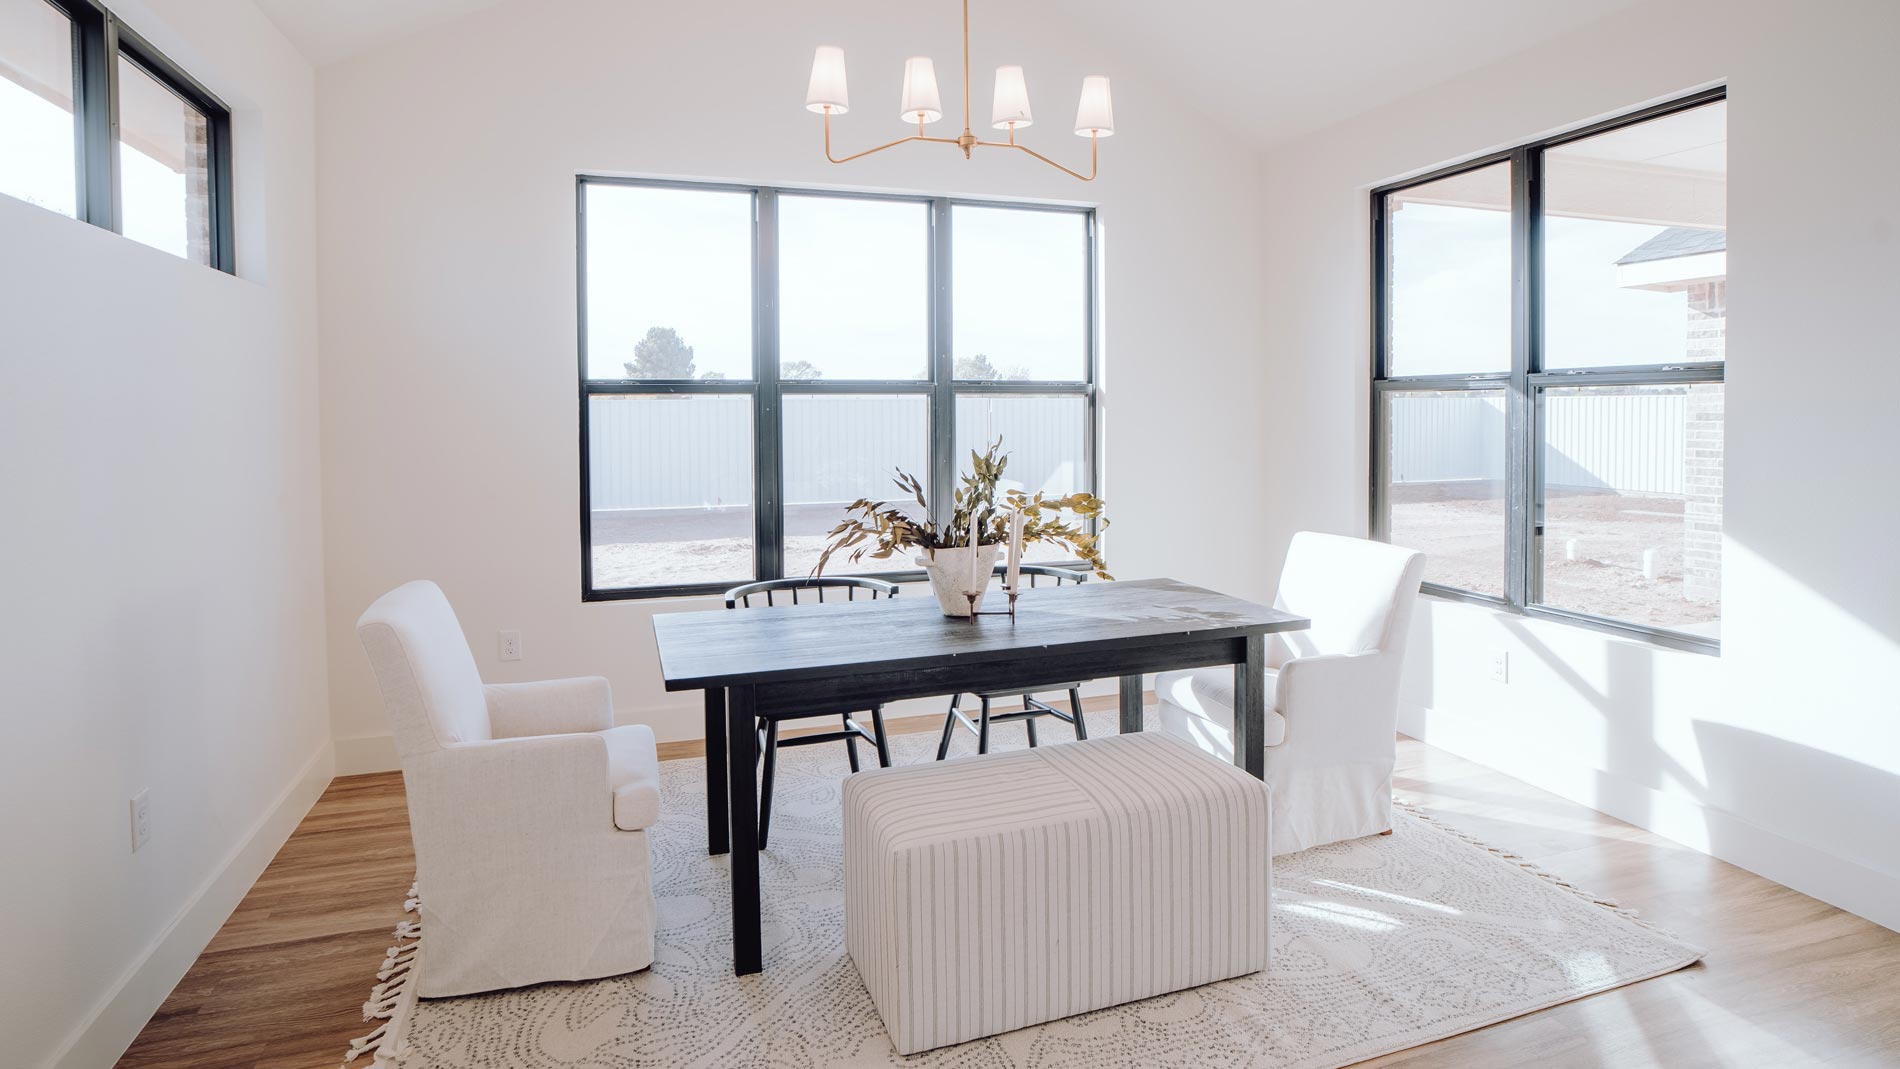
The white trim/black window look is the hot trend new home builders, and remodelers alike are all following. But it’s not just a fad. White and black have always complimented each other and will never go out of style. Chip and Johanna have just made it slick TV and chic remodeling!
Making the color change seems simple enough. Paint technology allows us to stick paint to just about anything with reasonable results. Heck, there’s a Youtube video for everything! I’ve watched them. It’s all oversimplified masking, priming, and painting. But they use a brush. Eek! Some are so helpful as to recommend what kind of brush to use. Not to knock anyone’s intentions.
These videos have their place and purpose. Our intention is to give you the steps to a professional quality result and achieve a window upgrade all at the same time. Or if nothing else, use our knowledge as a road map to hiring a qualified contractor to get the work done.
I want to give you a little background into our products and the perfect marriage of DIY’er effort and Fenster replacement sashes for your window color change.
Fenster Components has been supplying homeowners and contractors across the country with after-market replacement sashes for over 20 years. If you don’t know what a sash is, that is the operable part of the window. For instance, casement sashes crank out on a hinge, while double-hung sashes slide up and down on a track. Fenster has engineered near replica replacement sashes from dozens of nationwide window brands that have gone obsolete or out of business. The genius of just replacing the sash is the significant reduction in cost. The glass itself is the most expensive part of the window and is where all the “efficiency” talk comes from. It’s not in the framing of the window attached to the wall. Why replace (and pay for) parts of the window that may never go bad? Rotted wood parts and fogged glass panes are the most common wood window failures. Sash replacement solves all of these issues without tearing out the whole window!
Let’s get into the nuts and bolts of this project. Particularly the DIY’er part.
Ordering your sashes from Fenster is a breeze. Our ordering process at https://fensterusa.com makes it easy to navigate products, submit information, and confirm your order. Leave the technical stuff to us and we’ll make sure you get what you need. All you need to do is follow some simple steps to submit your order. We have videos if you need help! Oh, and one obvious step; if you’re changing to black, pick black as your clad color. Duh. Sashes are done.
How to paint the frame.
Now I’m using aluminum-clad sashes as the focus of this project. I don’t recommend painting vinyl windows black, we don’t sell vinyl windows, so… not part of the conversation. If you have all wood windows, i.e. wood sash/wood frame on the exterior, then your project is a little easier. Just paint them like you would paint any exterior wood surface. Probably with a brush. I’m steering you away from the brush method on smooth metal surfaces of aluminum-clad windows.

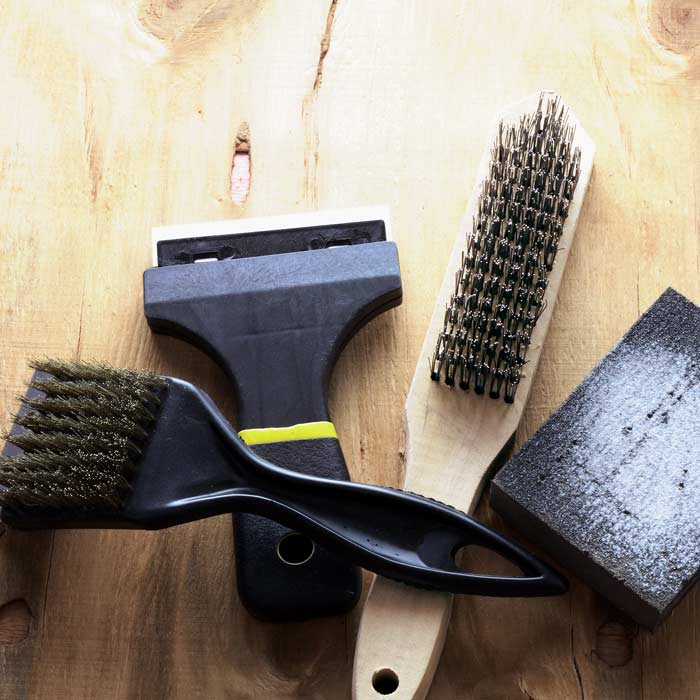
Step 1. Surface prep, surface prep, surface prep. Your paint is only as good as what you are sticking it to. Older clad windows will have oxidation (a chalky film) that has developed over time. You will want to use a vinegar/water solution to remove the oxidation and make very sure you have a clean, dry surface before you start to paint.
Step 2. You want to prep the frame of the window with a little light sanding with high grit sandpaper for metal. Something like 220ish. You want to rough up the surface and take off the sheen without scratching it. A de-glosser can also be used for this step, but that’s one more chemical you’re messing with.
Step 3. What I should have mentioned already, but thought was obvious, is you are only prepping the window frame for paint, not the sash. Your new Fenster sashes will have a beautiful powder-coated matte black finish from the factory. You will want to remove the sash for the best results. At a minimum, open the sash all the way so you have as much room to work around the frame as possible. Also, a good spot to mention, if you want to cheat and just paint the exposed part of the frame, then leave the sash closed and paint around it. If you never open your window anyway, then who’s gonna know?

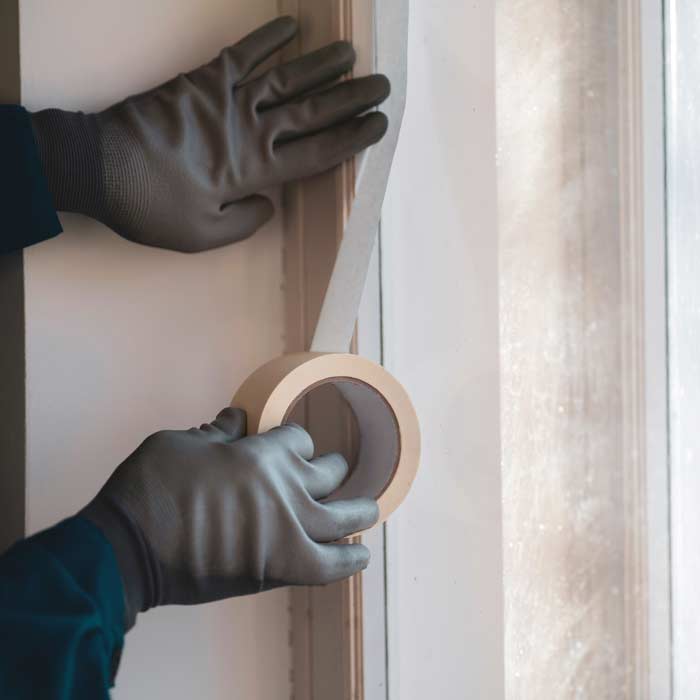
Step 4. Probably the most tedious; masking. You have to plan this out a little bit. If you haven’t or are planning to paint or repaint the trim around the window frame, I wouldn’t worry too much about masking off the perimeter of the frame. Any overspray will get painted over when the trim gets painted. That’s right, I said over-spray. More on that later. Now depending on if you’re going the, “holy cow that looks awesome” route, or the “screw it, no one’s gonna see it anyway” route, masking off the interior trim of the window is key for a professional-looking job. Be careful to cover the operator mechanism (casements obviously) to prevent getting paint on it. When masking the perimeter, I recommend removing the perimeter frame weatherstripping. Most of time, it just inserts into a groove in the frame. This will give you a clean division line in the frame to mask to. Did I mention this would be a great time to replace your weatherstripping? Weatherstripping kits are available at fensterusa.com. Now unless you’re all willy-nilly with your spray can and it’s not a windy day, I wouldn’t think you need to bother sealing off the whole window opening. That’s up to you.
Step 5. Yes, I did say spray can! You’re painting metal, right? What better way to paint metal… spray can! I’m making this super easy using a product everyone has used before. Even if your spray can skills are weak, a few coats are still going to look good since a very small area of an aluminum-clad window frame is exposed when the sash is closed. Now, assuming the surface is prepped properly and the finish is intact; no peeling or whatever. I recommend one of the new paint/primer-in-one spray cans. A satin black is going to be your best match to the black factory finish on your new sashes. Don’t try to coat it all in one pass. Spray paint works best when you build up the finish in several light coats. This will prevent runs that send you back to spray paint kindergarten.
Step 6. Install your new Fenster sashes. Obviously, there’s more to it than that, but that’s another 1,000 words you don’t want to read right now! But never fear! There’s a video for that too.
With a little mechanical aptitude and common sense, even the sash replacement part is easily a DIY’er project.
Complete your color change window project while upgrading your windows for a fraction of the cost of all new windows. Read more about our products, helpful blog tips, and installation instructions on our website, fensterUSA.com


Hey there! Would you mind if I share your blog with my facebook group? There’s a lot of folks that I think would really appreciate your content. Please let me know. Thank you
Please do. We appreciate the exposure.